You know that little head tilt your dog gives you when you pull out the ear cleaner? The one that says, “Are we really doing this again?” — yeah, that’s the one. But here’s the truth: cleaning your dog’s ears isn’t just about hygiene. It’s about comfort. It’s about preventing pain. It’s about catching problems before they turn into vet bills. And honestly? It’s one of the easiest, most loving things you can do for your furry friend.
If you’ve ever wondered whether your dog’s ears need cleaning, how often to do it, or what the heck to use (and whether Q-tips are a good idea — spoiler: they’re not), you’re in the right place. In this guide, we’ll walk through exactly how to clean your dog’s ears safely, step by step — no guesswork, no stress, no scary vet visits. We’ll cover why ear care matters, how to spot trouble early, what products actually work, and even how to turn this chore into a bonding moment your pup might actually enjoy. Whether you have floppy-eared Basset Hounds or prick-eared German Shepherds, this guide is tailored for every breed, every age, and every owner who wants their dog to feel their absolute best.
Let’s get started — gently, carefully, and with plenty of treats on hand.
Why Dog Ear Cleaning Isn’t Optional — It’s Essential
Think of your dog’s ears like a cozy, dark, warm cave. Perfect for… trapped moisture, wax buildup, and yes — bacteria and yeast. That’s right. Those adorable floppy ears? They’re basically nature’s humidity traps. Breeds like Cocker Spaniels, Basset Hounds, and Labrador Retrievers are especially prone to ear infections because their ear canals are long, narrow, and poorly ventilated. Even short-eared dogs aren’t immune — dirt, pollen, water from baths or swimming, and allergies can all sneak in.
The numbers don’t lie: according to the American Veterinary Medical Association (AVMA), ear infections are among the top three reasons pet owners visit the vet. And guess what? Over 80% of those cases could’ve been prevented with regular, gentle cleaning.
Left untreated, ear infections can lead to chronic pain, hearing loss, and even damage to the eardrum. Your dog might shake their head constantly, scratch at their ears until they’re raw, or walk with their head tilted — signs you can’t ignore. But here’s the good news: most infections start small. A little redness. A faint odor. A bit of dark waxy buildup. Catch it early, and you’re not just saving money — you’re saving your dog from discomfort.
Cleaning isn’t about making their ears sparkle. It’s about keeping the environment inside healthy. Think of it like brushing your teeth — you don’t wait until your gums bleed to start. You do it regularly, gently, and with care. Same goes for your pup.
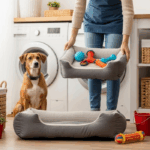
And here’s a secret: most dogs don’t hate ear cleaning. They hate being restrained, rushed, or handled roughly. When you make it calm, predictable, and rewarding? They’ll start to look forward to it. (Yes, really.)
How to Tell If Your Dog’s Ears Need Cleaning (Before It’s Too Late)
Not every dog needs a weekly ear cleaning. Some dogs — especially those with upright ears and low wax production — might only need it once a month. Others? Maybe every 5–7 days. So how do you know?
Start with the sniff test. Your dog’s ears should smell like… nothing. Or maybe a faint, neutral “doggy” scent. If you catch a sour, yeasty, or rotten odor — that’s a red flag. Yeast infections often smell like bread or cheese. Bacterial ones can smell foul or even metallic.
Next, check the color and texture. Healthy earwax is light tan or pale yellow — think the color of honey. If you see dark brown, black, or greasy-looking gunk? That’s a sign of buildup or infection. Also, look for redness, swelling, or scabs. If your dog flinches when you touch their ears, or if they’re shaking their head more than usual, listen closely. That’s their way of saying, “Something’s not right.”
A quick visual check once a week takes less than 30 seconds. Just gently lift the ear flap and peek inside. No need to poke deep — you’re just looking for signs of trouble.
Here’s a real-life example: My friend Maria’s beagle, Buddy, started scratching his ears nonstop. She thought it was allergies. She bought antihistamines. Nothing changed. Then one night, she lifted his ear and gasped — it was packed with thick, black gunk and smelled like old socks. A vet visit confirmed a severe yeast infection. After two weeks of treatment and daily cleaning, Buddy was back to his happy, tail-wagging self. All because Maria finally looked.
Don’t wait for your dog to be in pain. A little attention now prevents a lot of suffering later.
The Right Tools: What to Use (and What to Avoid)
Let’s talk supplies. You don’t need a pharmacy full of products. In fact, the wrong tools can do more harm than good.
DO use:
- A dog-specific ear cleaner (look for vet-recommended, pH-balanced formulas). Brands like Epi-Otic, Virbac, or Douxo are widely trusted. Avoid anything with alcohol, hydrogen peroxide, or vinegar — these can irritate sensitive skin.
- Cotton balls or gauze pads. These are soft, absorbent, and won’t leave fibers behind.
- A treat pouch. Yes, seriously. Rewards are non-negotiable.
DON’T use:
- Q-tips or cotton swabs. This is the #1 mistake. Inserting anything into the ear canal can push debris deeper, puncture the eardrum, or cause permanent damage. You’re not cleaning the canal — you’re just moving dirt around. And your dog’s ear canal is L-shaped — you can’t see the bottom. So don’t try to reach it.
- Water or baby wipes. Water can trap moisture and create a breeding ground for infection. Baby wipes often contain fragrances or alcohol that can irritate.
- Homemade solutions (like apple cider vinegar or tea tree oil). These may sound natural, but they’re not vet-approved and can cause burns or allergic reactions.
Pro tip: Choose a cleaner that’s slightly warm. Cold liquid can be startling. Run the bottle under warm (not hot) water for 10 seconds before use. Your dog will thank you.
And here’s a game-changer: choose a cleaner with a built-in nozzle. It gives you control over how much liquid goes in — no spills, no mess. You’re not flooding the ear. You’re just introducing enough to loosen debris.
Your goal? Not to sterilize. Not to scrub. Just to gently dissolve wax and debris so your dog’s natural cleaning system can do its job.
Step-by-Step: How to Clean Your Dog’s Ears (Without the Drama)
Alright, let’s get practical. Here’s how to do it right — slow, calm, and with love.
Step 1: Pick the Right Time and Place
Choose a quiet moment — not right after dinner, not when the doorbell rings. A time when your dog is relaxed. A soft rug or towel on the floor works great. Have your cleaner, cotton balls, and treats ready before you start. Nothing worse than fumbling around while your dog gets impatient.
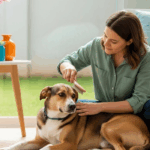
Step 2: Gently Restrain (But Don’t Force)
Sit beside your dog. If they’re small, place them on your lap. If they’re larger, sit on the floor with them beside you. Use one hand to gently hold the base of the ear — not the floppy part, but the part connected to the head. This gives you control without causing discomfort.
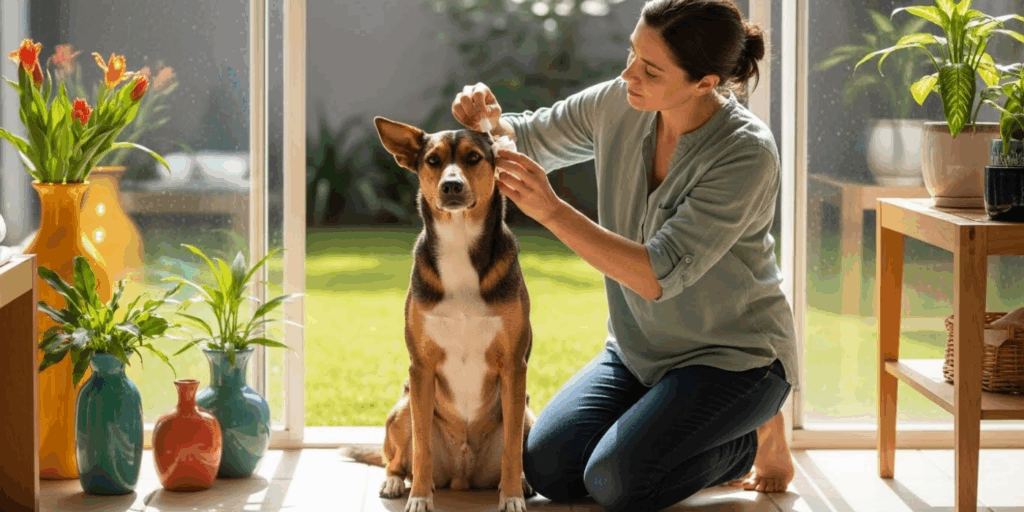
Step 3: Apply the Cleaner
Hold the bottle vertically and squeeze 5–10 drops (depending on size) into the ear canal. Don’t stick the nozzle deep — just let the liquid flow in. You’ll hear a little squish. That’s normal. Don’t pour too much — you’re not filling a bucket.
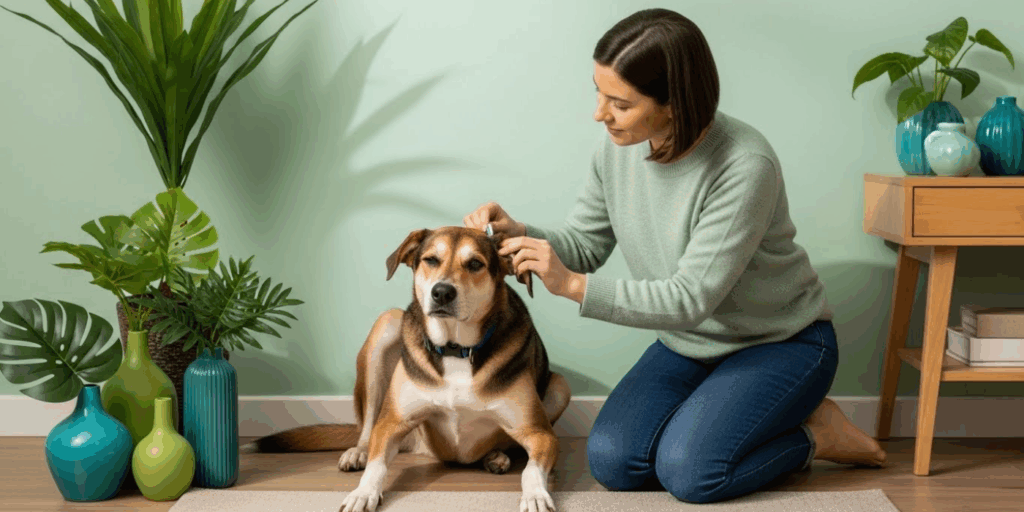
Step 4: Massage the Base of the Ear
Now, here’s the magic step. Gently massage the base of the ear for 20–30 seconds. You’ll feel a little squishy movement under your fingers. This helps the cleaner break up wax and debris. It also feels soothing — like a mini ear massage. Most dogs will sigh or lean into it. That’s your sign you’re doing it right.
Step 5: Let Them Shake (Yes, Really)
After massaging, let your dog shake their head. They’ll do it instinctively — and it’ll fling out a lot of the loosened gunk. Step back a little. It’s messy. It’s normal. Grab a towel.
Step 6: Wipe the Outer Ear
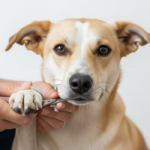
Now, take a cotton ball or gauze pad and gently wipe the visible parts of the ear — the fold, the creases, the entrance to the canal. Don’t shove it deep. Just wipe away what comes out. Change cotton balls as needed. You’re not trying to make it spotless — you’re removing excess debris.
Step 7: Reward Like Crazy
This is the most important step. Give your dog a treat. Praise them. Pet them. Say, “Good job!” like they just won the lottery. Do this every single time. Over time, they’ll associate ear cleaning with positive attention — not fear.
Repeat on the other ear. Total time? Under 5 minutes.
If your dog resists? Don’t force it. Try again later. Short, positive sessions build trust. And remember — if you’re ever unsure, ask your vet to show you during your next checkup. They’re happy to demonstrate.
Common Mistakes (And How to Avoid Them)
Even well-meaning owners make these errors — and they’re easy to fix.
❌ Cleaning too often.
You don’t need to do it daily unless your vet says so. For most dogs, once every 1–2 weeks is enough. Over-cleaning can dry out the skin and cause irritation.
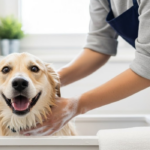
❌ Ignoring water after baths or swims.
Water trapped in the ear is a recipe for infection. After swimming or bathing, gently dry the outer ear with a towel. You can even use a small amount of ear drying solution (ask your vet) to help evaporate moisture.
❌ Only cleaning when it smells bad.
That’s like only brushing your teeth when you have a toothache. Prevention beats cure.
❌ Using human ear drops.
Never. Human products are formulated for our anatomy — not yours. They can be toxic or too harsh.
❌ Skipping the vet when something’s off.
If you see blood, pus, extreme redness, or your dog is yelping — don’t try to “clean it out.” Get to the vet. You might be dealing with an infection, mites, or even a tumor. Early detection saves lives.
Making Ear Cleaning a Bonding Ritual — Not a Chore
Here’s the beautiful part: ear cleaning can become one of the most intimate moments you share with your dog.
Think about it — you’re touching their ears. That’s a vulnerable spot. When you do it calmly, gently, and with treats, you’re telling them: I’m here. I’m safe. I’ve got you.
I’ve seen it happen with clients’ dogs. One shy rescue named Luna would cower when anyone reached near her head. After just three gentle cleaning sessions with treats and slow movements, she started leaning into the touch. Now? She brings her ear to me. Literally. She nudges my hand like, “Hey, it’s cleaning time. Let’s go.”
That’s the power of consistency and kindness.
Try this: play soft music during cleaning. Use a soothing voice. Make eye contact. Let your dog see your calm face. They mirror your energy. If you’re tense, they’ll be tense. If you’re relaxed, they’ll relax too.
And if your dog loves car rides? Clean their ears right before a short drive. The treat + the car = instant positive association.
This isn’t just health care. It’s love in action.
When to Call the Vet (And What to Expect)
Not every ear issue can be fixed at home. Here’s when to get professional help:
- Foul odor that doesn’t go away after cleaning
- Dark, crumbly discharge (could be ear mites — common in puppies)
- Redness, swelling, or bleeding
- Head tilting, loss of balance, or circling (signs of inner ear infection)
- Your dog won’t let you touch their ear at all
Your vet will likely do an ear cytology — a quick swab test to check for yeast, bacteria, or mites. They might prescribe medicated drops or oral meds. Don’t skip the full course, even if things look better. Infections can hide.
Some dogs — especially those with allergies or floppy ears — need ongoing care. Your vet might recommend monthly cleanings or even a special diet to reduce inflammation. Don’t feel guilty if your pup needs extra help. It’s not your fault. It’s just biology.
And here’s the silver lining: once you get the routine down, you’re not just preventing illness — you’re becoming your dog’s first line of defense. You’re the one who notices the change before anyone else. That’s powerful.
Final Thoughts: Your Dog’s Ears Are a Gift — Treat Them Like One
Cleaning your dog’s ears isn’t glamorous. It’s not Instagram-worthy. But it’s one of the most meaningful things you’ll ever do for them.
It’s quiet. It’s consistent. It’s the kind of love that shows up on Tuesday afternoons, when no one’s watching. It’s the difference between a dog who scratches constantly and one who sleeps soundly. Between a vet visit that costs $300 and a 5-minute routine that costs $15.
Your dog doesn’t care how fancy your cleaner is. They don’t care if you do it perfectly. They only care that you’re there — calm, kind, and patient.
So tonight, after dinner, grab your cotton balls. Warm the cleaner. Sit down. And take five minutes. Whisper to them. Reward them. Let them lean into your hand.
Because the healthiest ears in the world belong to dogs who know they’re loved.
And that? That’s the real magic.
Now it’s your turn.
Have you cleaned your dog’s ears before? What was your biggest challenge? Did your pup hate it… or come to love it? Share your story in the comments below — your experience might be the gentle nudge another owner needs to start. And if this guide helped you, please share it with a friend who’s got a dog with floppy ears and a head tilt. Because every pup deserves to hear the world clearly — and feel safe while doing it. 🐾

Lucas Neto is a passionate animal enthusiast who has spent years learning, caring, and connecting with pets of all kinds. His fascination with animals began in childhood and grew into a lifelong dedication to understanding their behavior, needs, and unique personalities. Whether rescuing strays, supporting responsible pet care, or simply enjoying the everyday joy that animals bring, Lucas is committed to sharing his knowledge and love for pets with others.